Your Skin, Unfiltered: How to Glow in Every Shot
There are two kinds of photos:
the ones you post, and
the ones your friends tag you in with zero warning.
At this day and age, cameras are basically microscopes. The front cam. The flash. The 0.5 lens (a known enemy). The overhead restaurant lighting that should be illegal.
So if your skin’s been looking a little… loud on camera (read: noticeable pores showing up first, spots showing up second), here’s the fix we love at Wink:
The Wink “Unfiltered” Combo
A glow that reads in real life and holds up in HD usually comes down to two things:
1) Laser Facial Pores
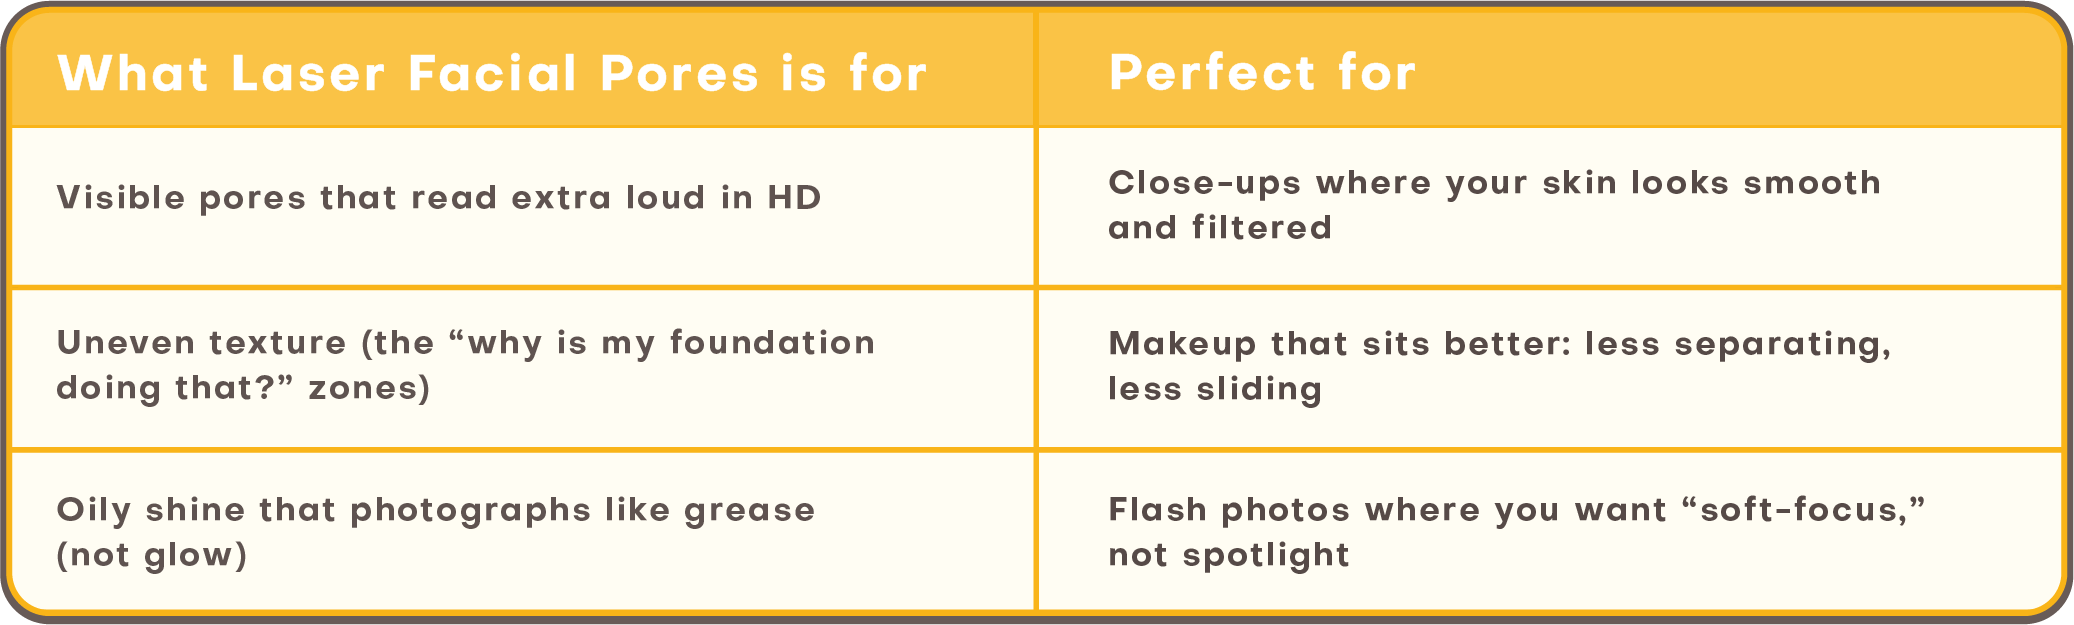
If your pores look extra obvious in photos (especially around the cheeks, nose, and T-zone), this treatment is designed to refine, so skin reads smoother even when the camera is being dramatic.
2) Laser Facial Pigment
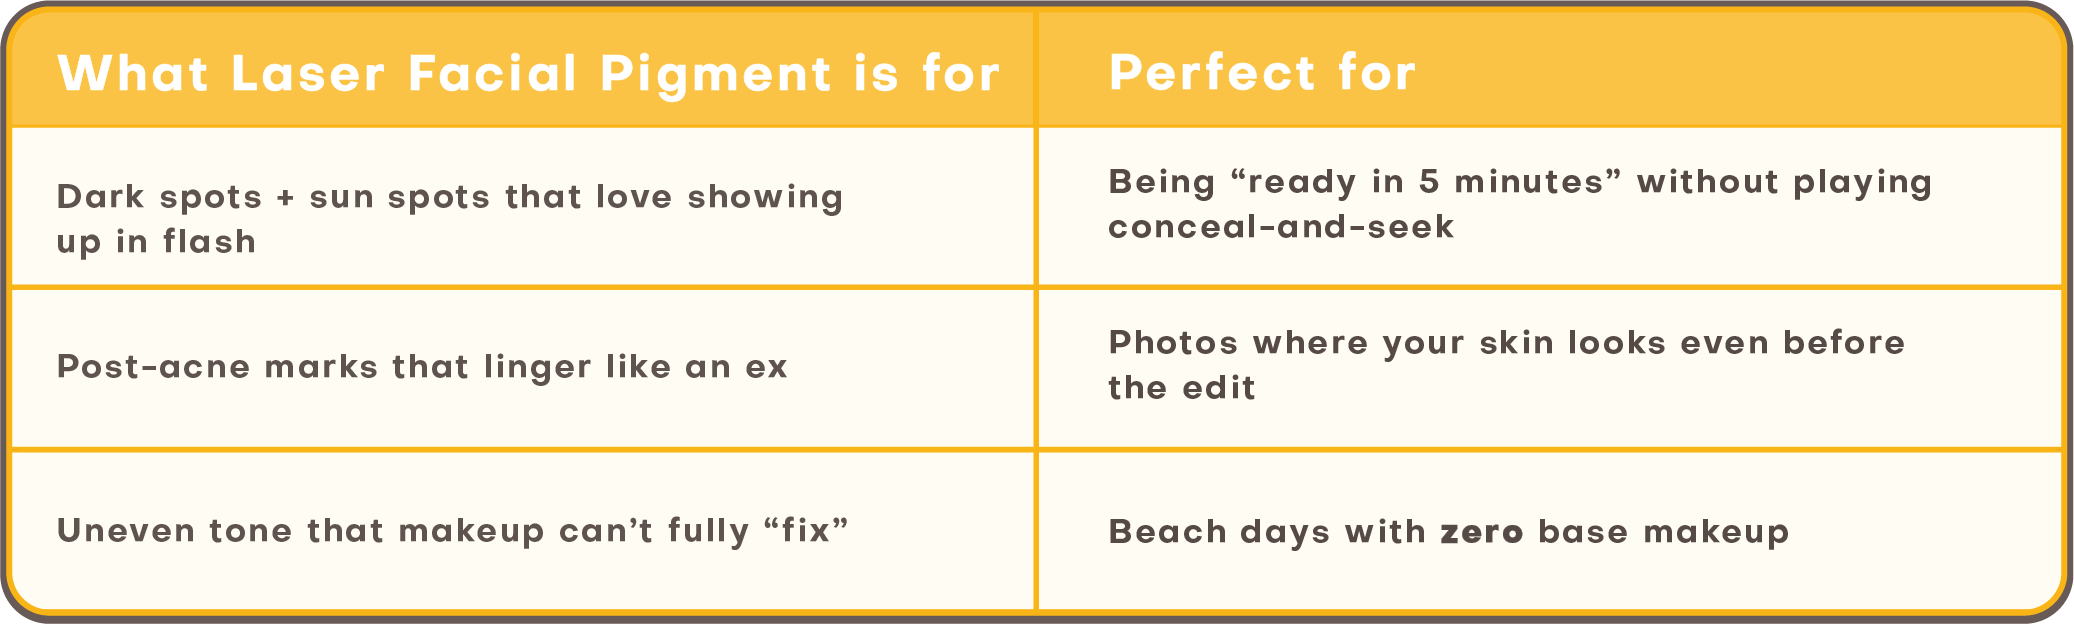
Pigment is the reason your camera sometimes highlights one spot like it’s the main character. Whether it’s sun spots, post-acne blemishes, or uneven patches, Laser Facial Pigment targets the look of discoloration so your overall tone reads more even.
The Glow in Every Shot Checklist (No Editing Required)
If you want your results to show up on camera, consistency wins. Here’s how we typically think about it at Wink:
Pick your priority: pores, pigment, or both
Follow the plan:results love a schedule
Protect your results: sun exposure can bring pigment back to the group chat
Take more photos: same lighting, same angle, same time of day, so you can actually see change, don’t forget to tag us
Let’s Get You Ready for Your Unfiltered Era
Book a consultation or message us and we’ll help you figure out what your skin actually needs without guessing or overdoing it. When pores are refined and tone is more even, you stop checking the preview before you post and fear-scrolling through every tagged photo.